
Where Even the Run-of-the-Mill is Extraordinary
Where Even the Run-of-the-Mill is Extraordinary
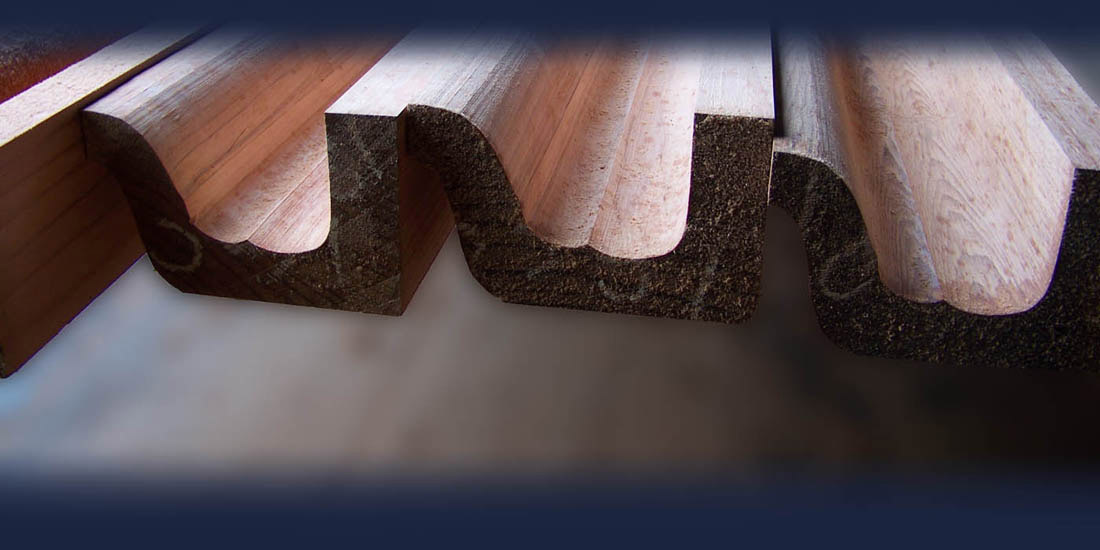
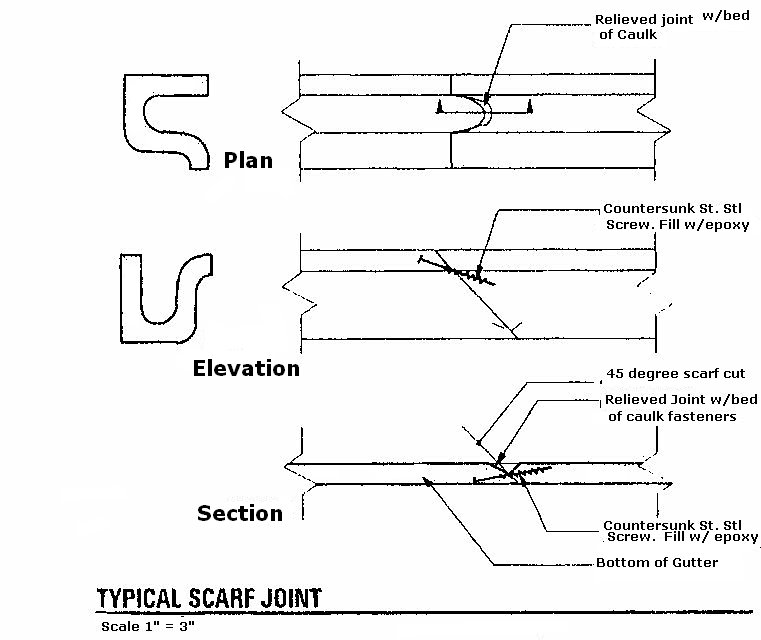
We at Blue Ox Millworks get a lot of questions involving the technique for splicing wood gutter. Here's a quick illustrated guide to the three main steps of gutter splicing.
The photograph to the right shows a running scarf joint, the joint used to splice two long pieces without changing direction. The cut is at a forty-five degree angle.
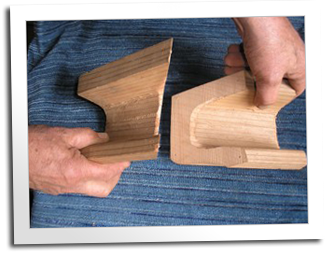
Before assembling the splice, cut a lake bed inside the gutter, 1/4 of an inch back into the trough, 1/8 of an inch deep and running half way up the sides of the trough
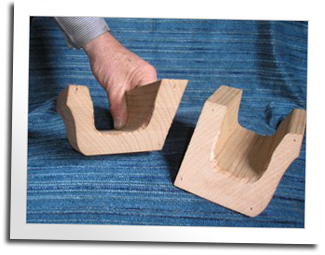
Assembling
The photo at right shows the running scarf joint together. Before joining the two pieces, we put caulking on the end grain. However, once placed together, most of the caulking squeezes out leaving only a thin film. Now fill the lake bed you created with caulk, patting it smooth in the bottom of the gutter. Now enough caulk is in the lake bed to allow the gutter to expand and contract throughout the years.
Miter for Corners
Here is an inside miter. Note, the lake bed is ready for caulking where the two pieces meet. The reverse of this joint is used for an outside miter.
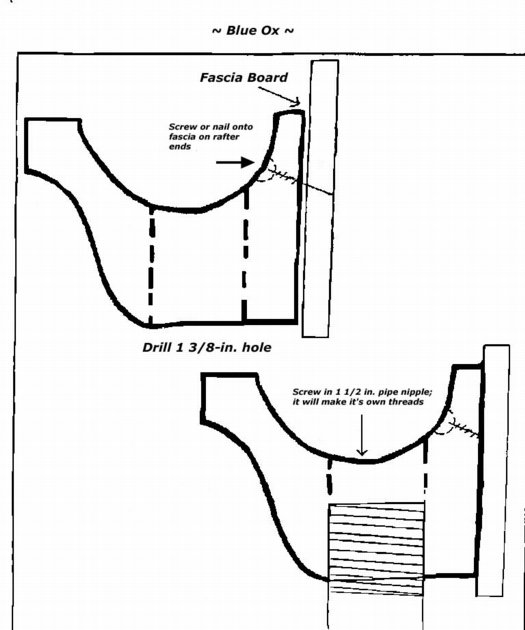
We hope this description has been helpful. For more information about the installation and care of redwood gutter visit our gutter installation page.
While the information on this website is believed to be true and accurate at the date of publication, neither the authors, webmaster, nor Blue Ox Millworks can accept any legal responsibility for any errors or omissions that may have been made. Prices listed on website are subject to change. © . Blue Ox Millworks. All Rights Reserved. Web Design by DHD